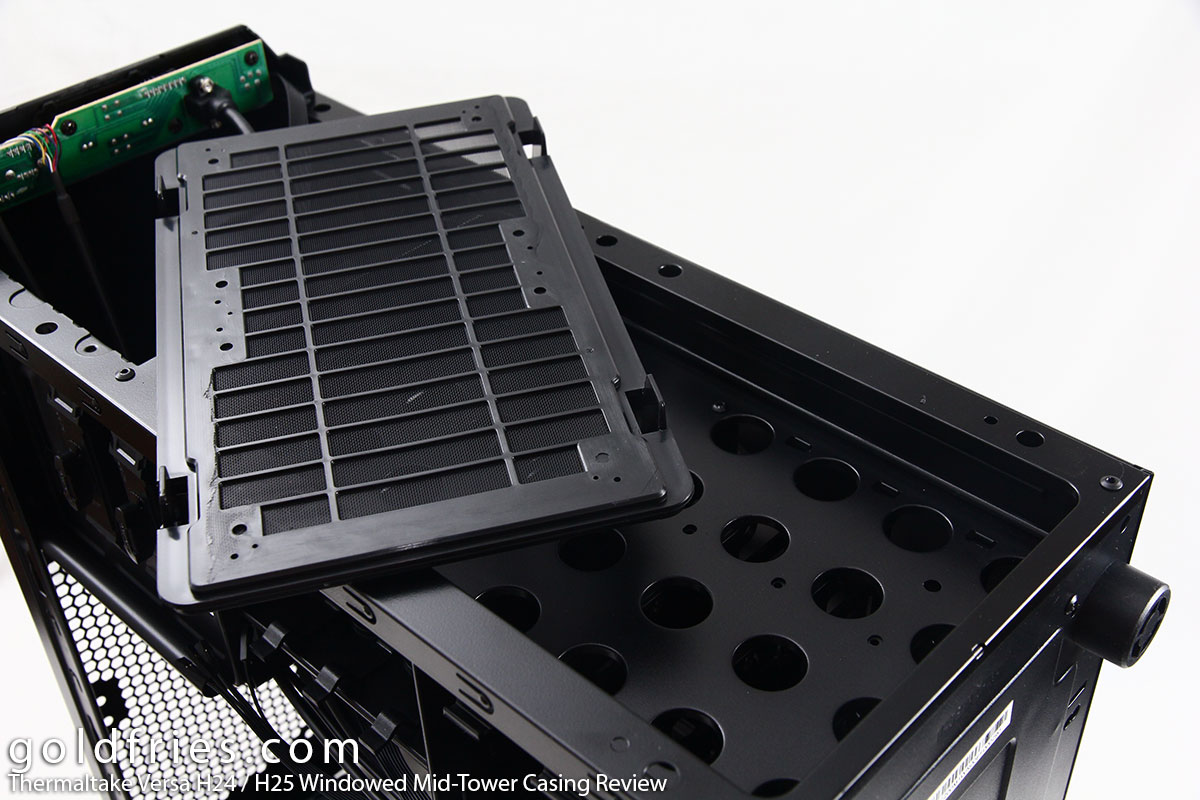
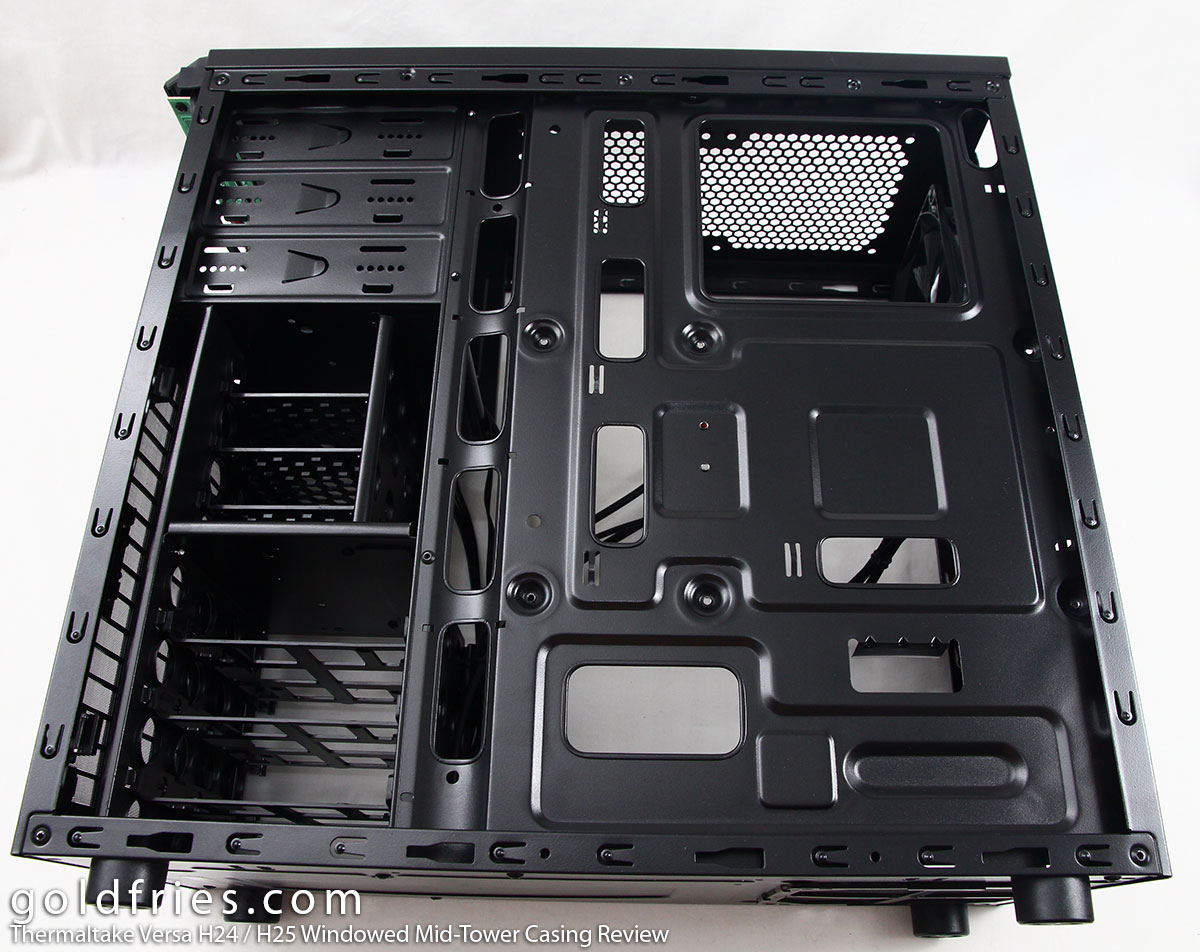
Internally it looks very similar to the older Versa casing. What Thermaltake did correct is that they shifted the fan grill position from center to side, the clearance might be narrow but at least you could get some components mounted.
This might seem as something minor but this is also the EXACT problem that many manufacturers fail to address. When the vent is at the center, the mounting of any cooling apparatus might be hindered due to lack of clearance. Thermaltake’s brilliant move to shift it to the side addresses this matter and you can now mount fans or radiator units right above the motherboard.

Being a compact and budget casing, one has to sacrifice flexibility in order to achieve the above. This means that you must remove whatever is mounted before being able to remove the motherboard, not a huge issue if the board is there to stay for a long time.

As for the front, plenty of drive bays.

Under the front panel is the filter of which you may attach fans to.
Here’s a view from the other side of the casing. The motherboard tray has a cut-out to cater to cooler backplates, the motherboard tray now stretches to the bottom which I think is a great moves as it adds strength to the structure and can also be used as a method to hide unsightly cables.
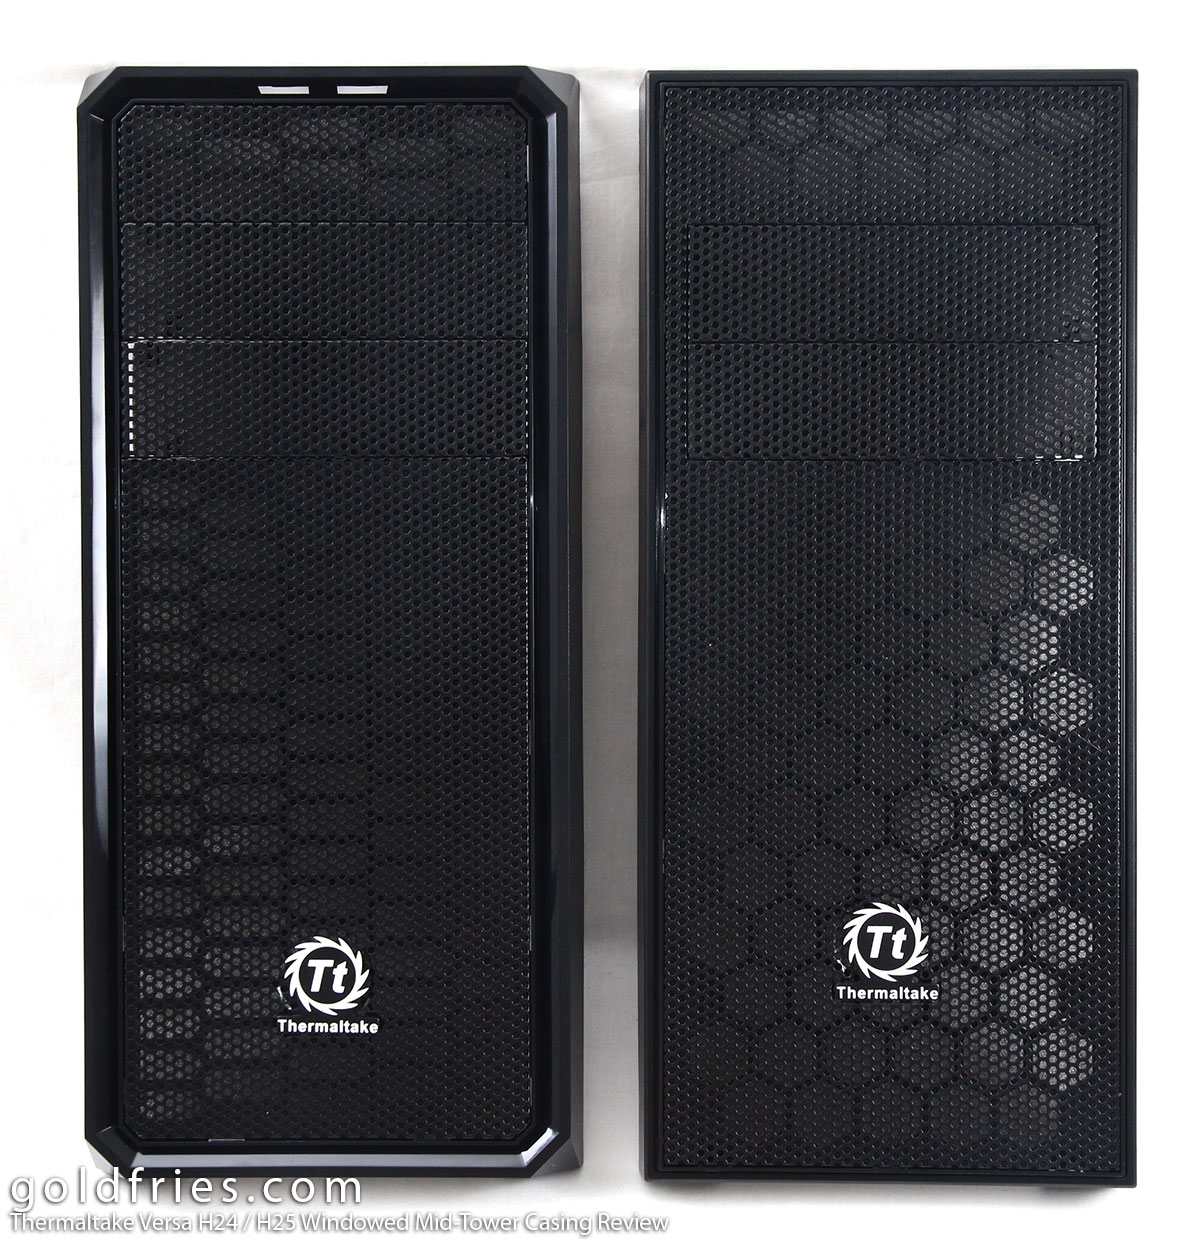
Speaking of front panels, here’s the difference between that of a H24 and H25. The H25 is on the left, the H24 is on the right. Don’t ask me why I didn’t arrange them in ascending order from left to right.
The Verdict
The Thermaltake Versa H24 / H25 Windowed Mid-Tower Casing retails at RM 129, a very good price for a casing that not only looks good but works great for many setup. Despite the compact nature, the design is such that one has the option to add additional cooling components, and it could also accommodate long graphic cards.

Here’s what it looks like with components in place.