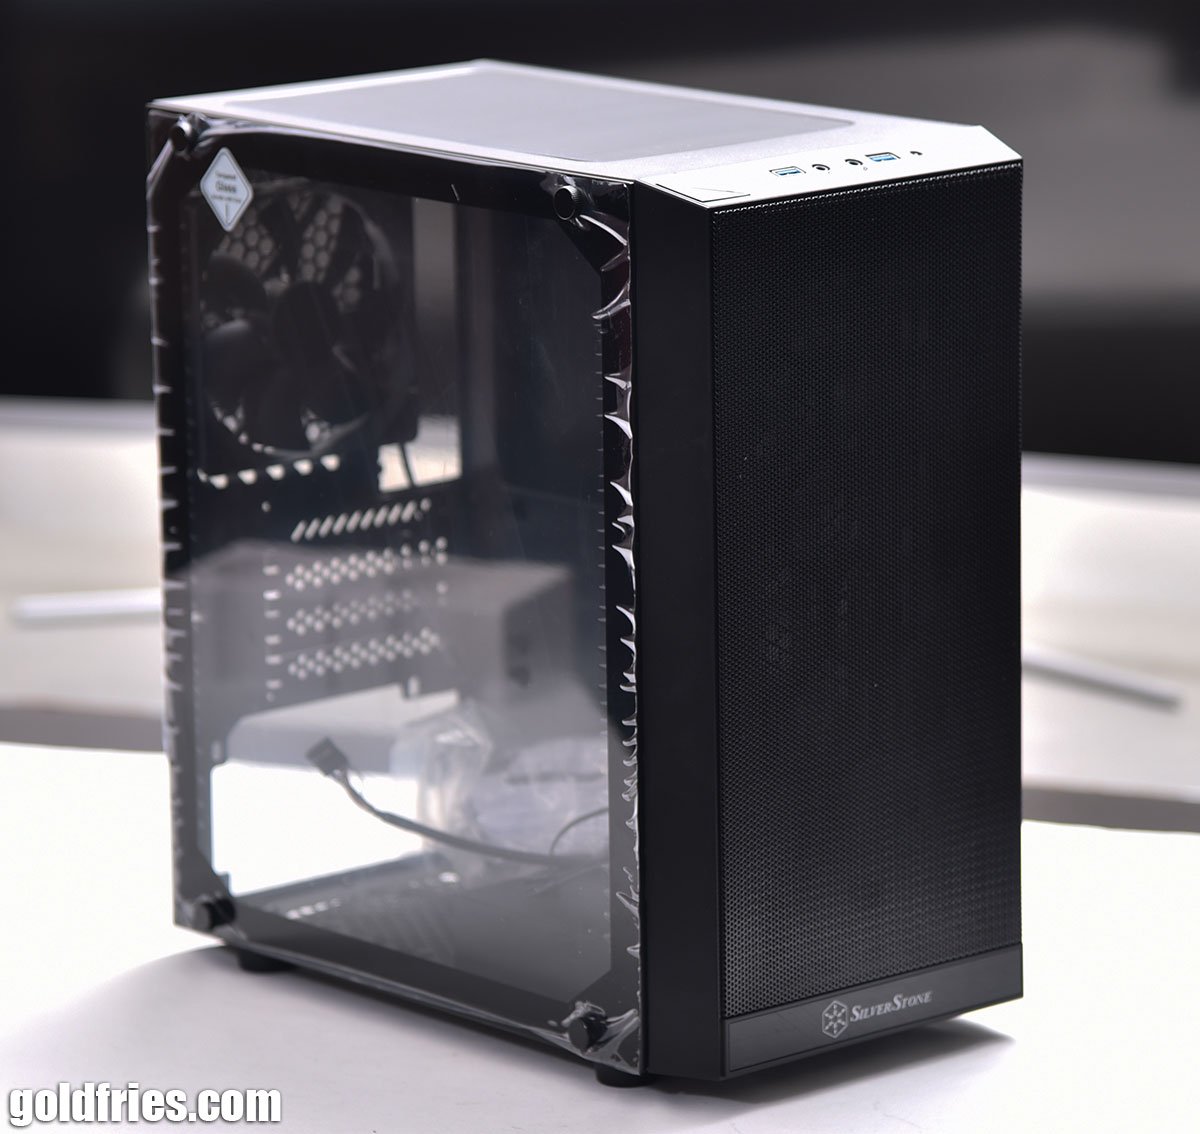
A budget casing that retails at only RM 189, the SilverStone Precision PS15 is a compact Micro-ATX casing with a clean and simple look.
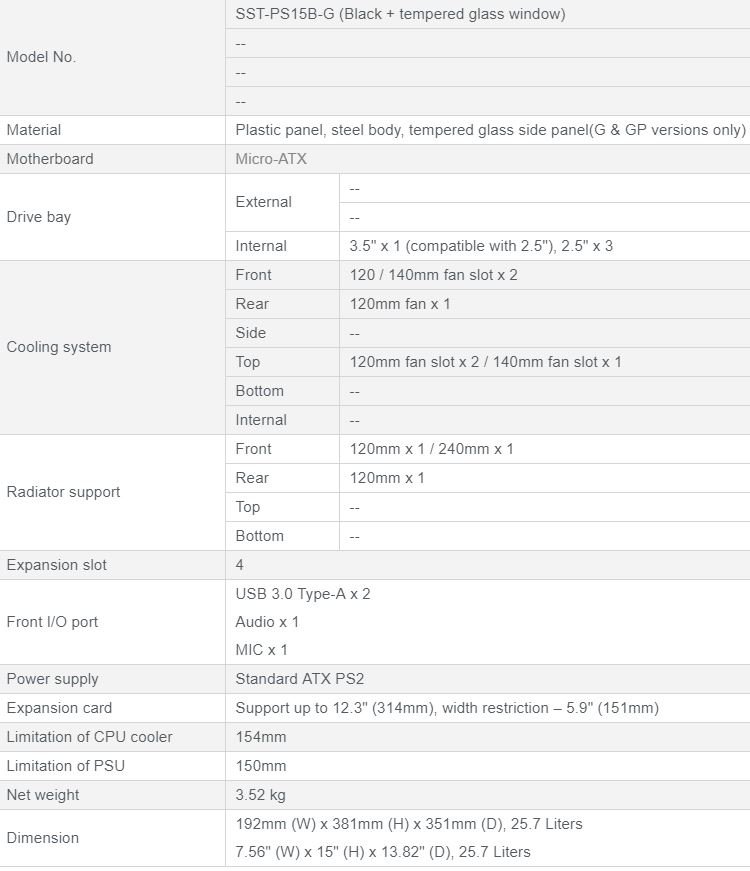
Here are the specs of the SilverStone Precision PS15.
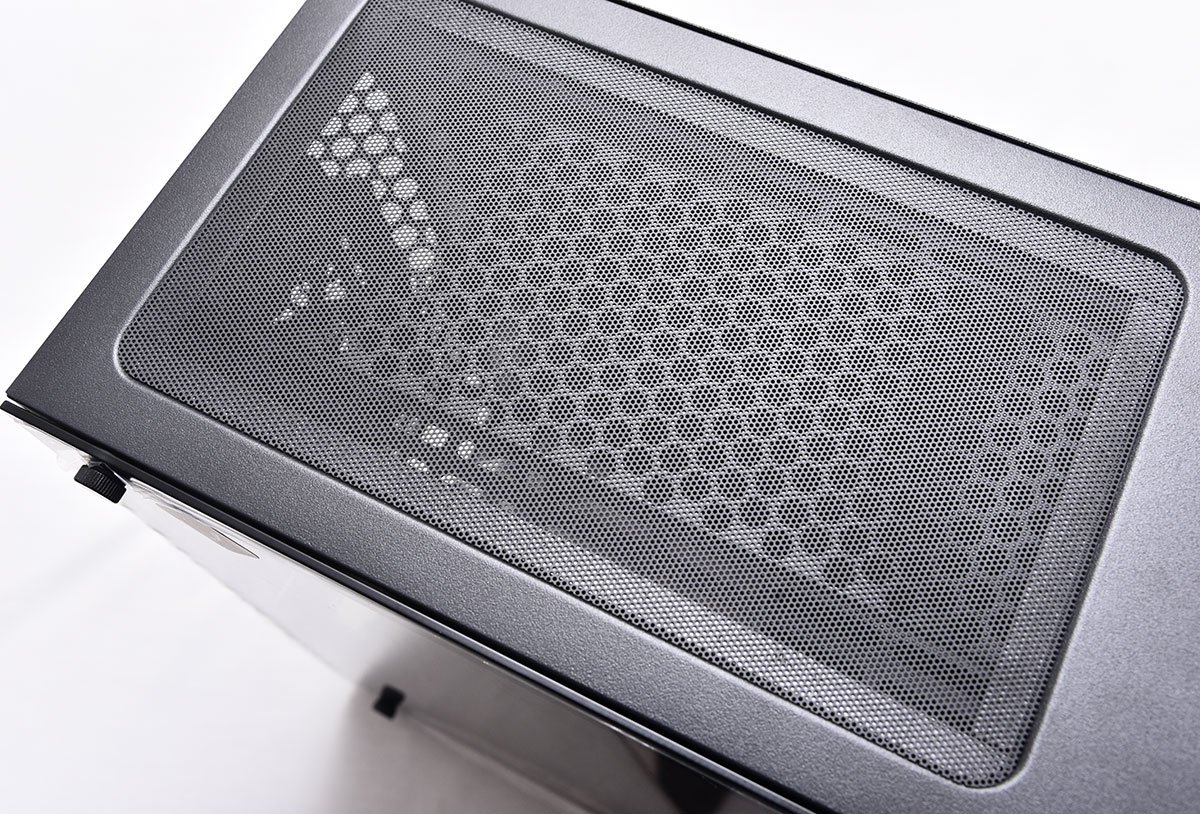
Starting from the top the SilverStone Precision PS15 comes with a magnetic dust filter and the top fits 2 units of 140mm fan.
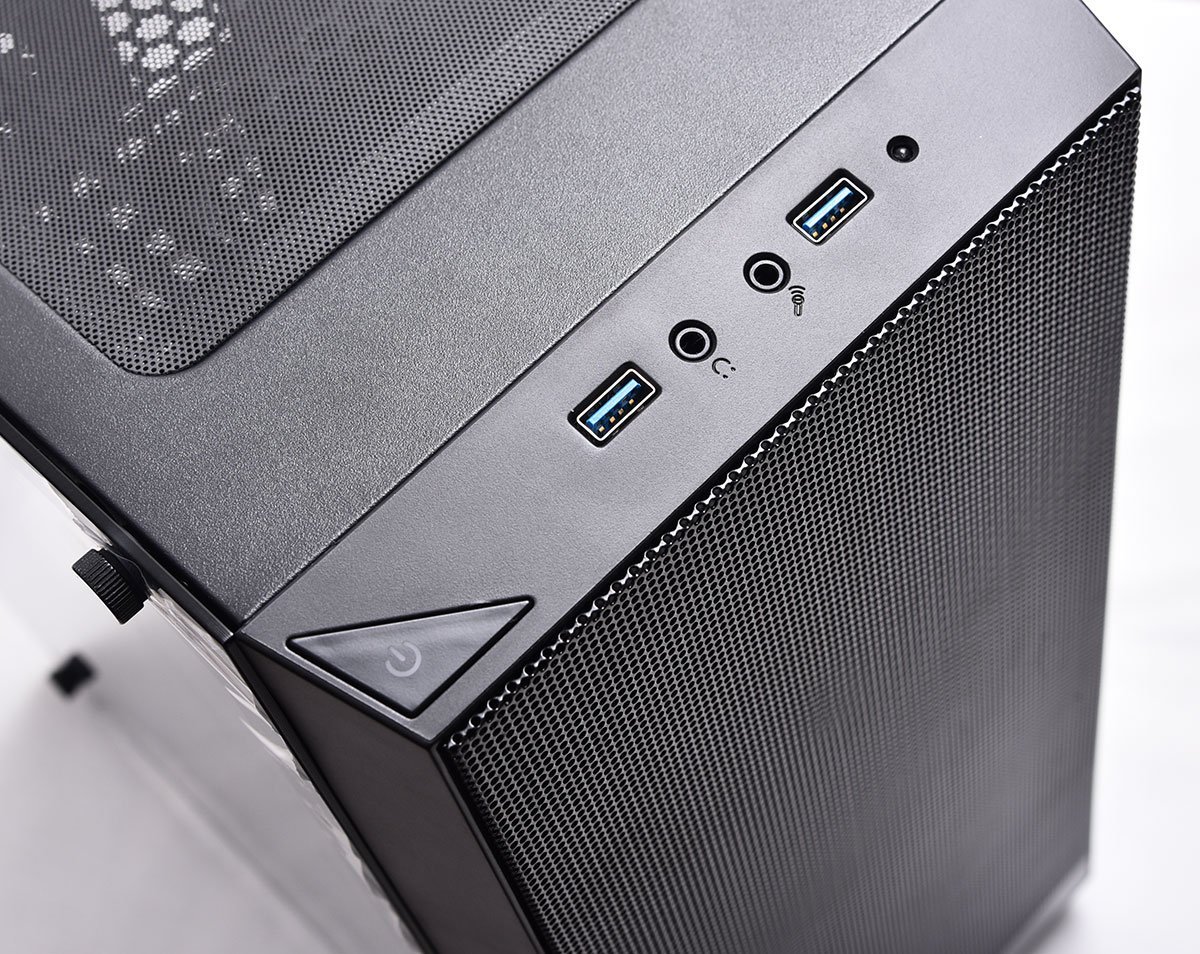
Towards the front of the upper area lies the POWER button and other I/O ports.
The front opens easily and as you can see it also supports up to 2x 140mm fan units and should you need, a 240mm radiator.
At the rear it’s nothing out of the ordinary, I still don’t like that type of mechanism where one has to further cover the slots with another piece.
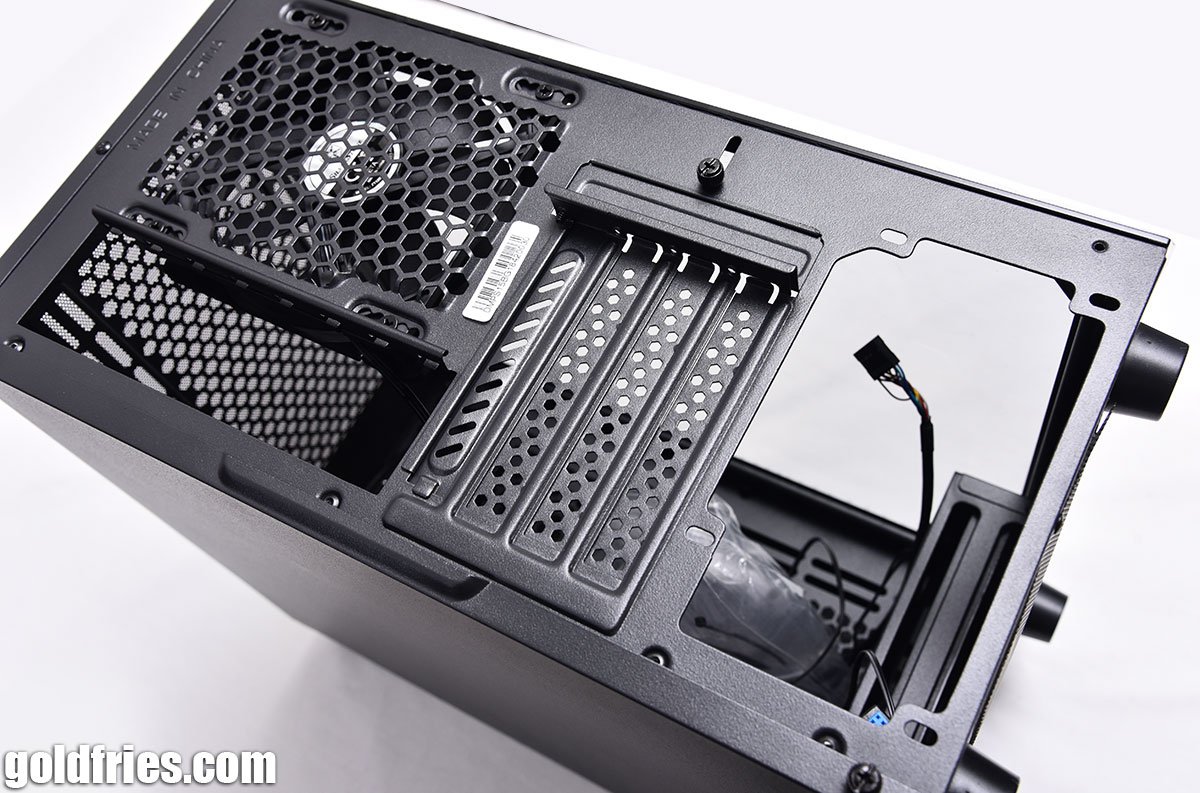
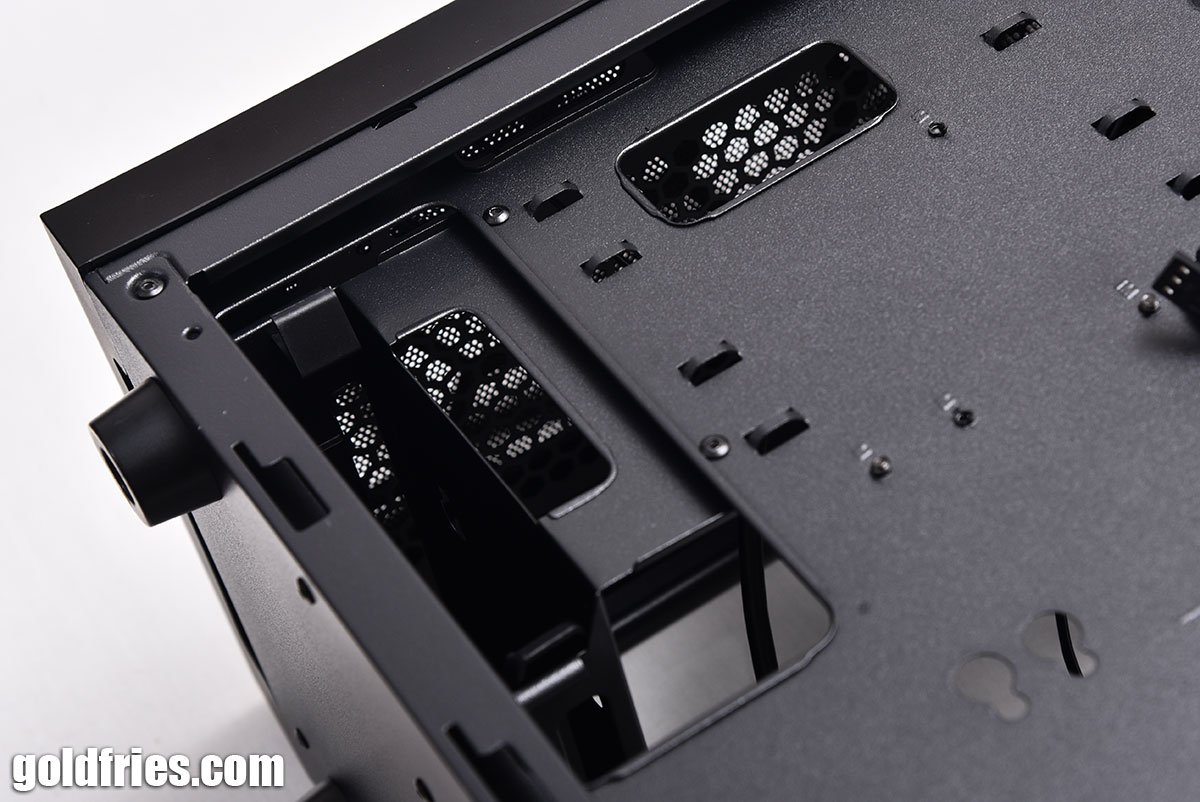
At the bottom there’s the opening for power supply and as with entry-level casings I wish their feet were padded instead of just plastic.

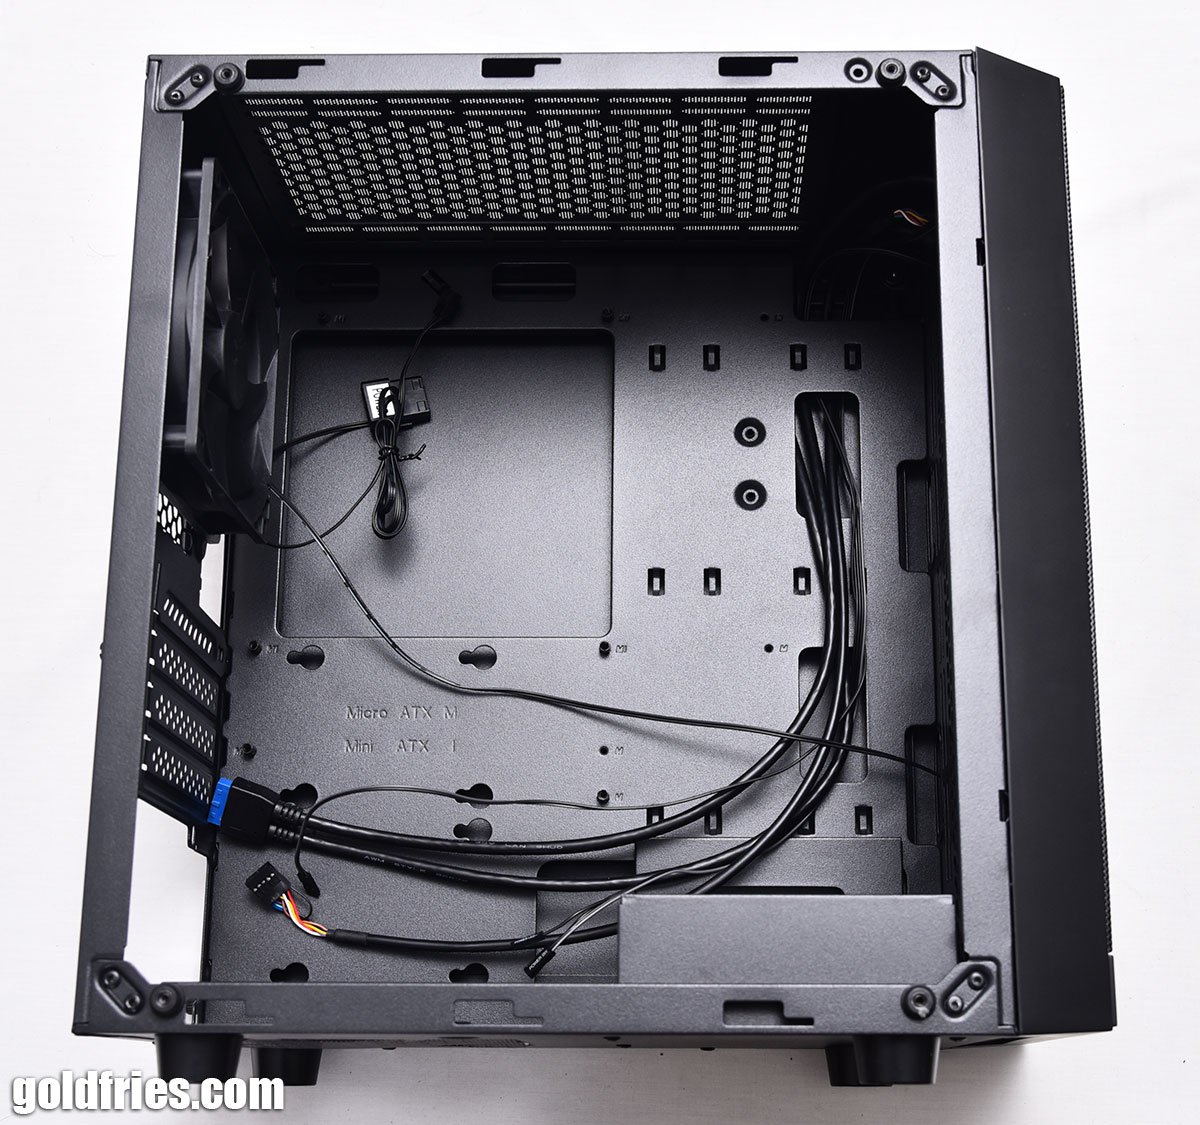
The interior of the SilverStone Precision PS15 is not exactly spacious, don’t be fooled by the good photography here. 😛
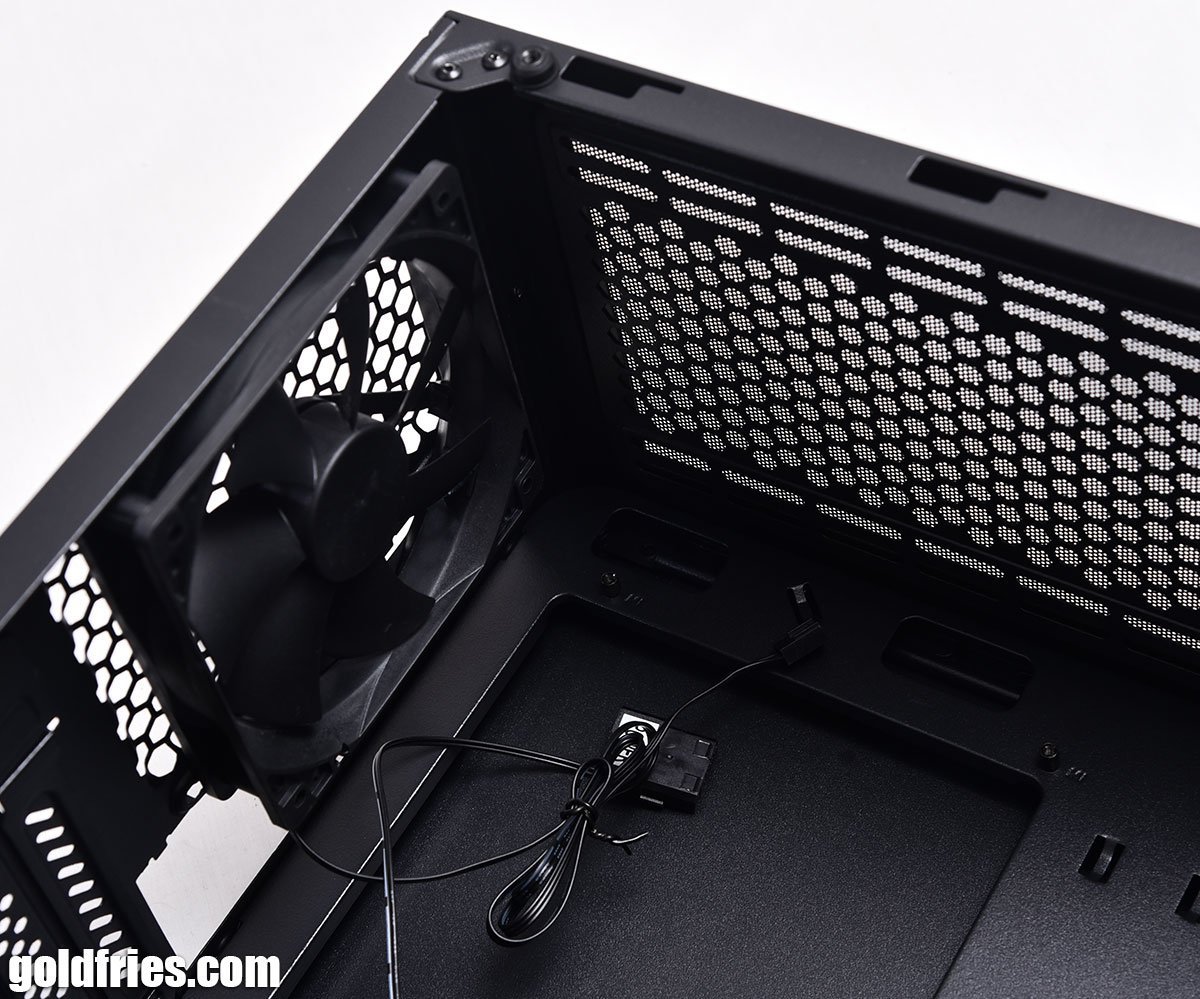
The upper area is limited, fans are likely to come in very close proximity to the board heatsinks or even the CPU cooler itself.
Towards the forward section there’s sufficient room for most cooling devices, 240mm AIO radiator will fit nicely.

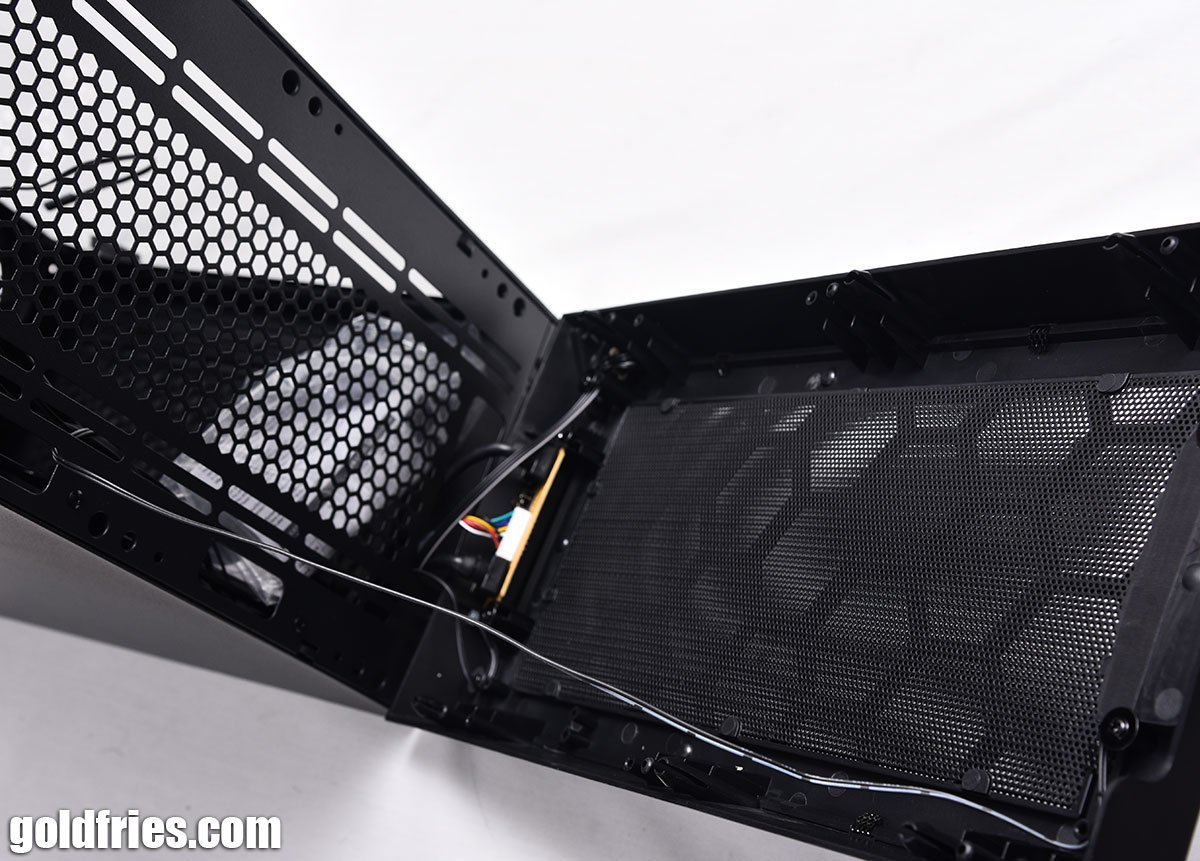
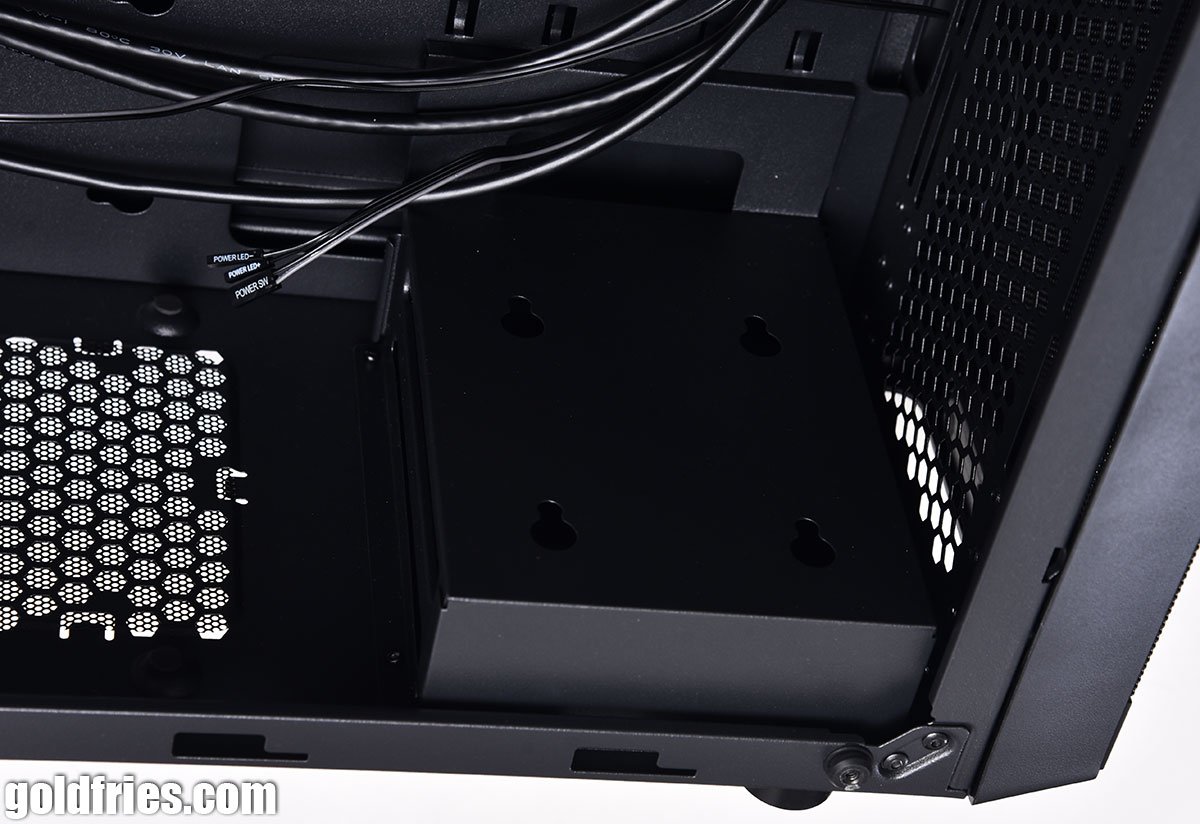
At the bottom we have the non-removable 3.5″ bay of which I will elaborate on this a little bit later.
Now this is the section on the other side of the board, it’s good to see that the cut-out is sufficient for one to use cooler backplate.
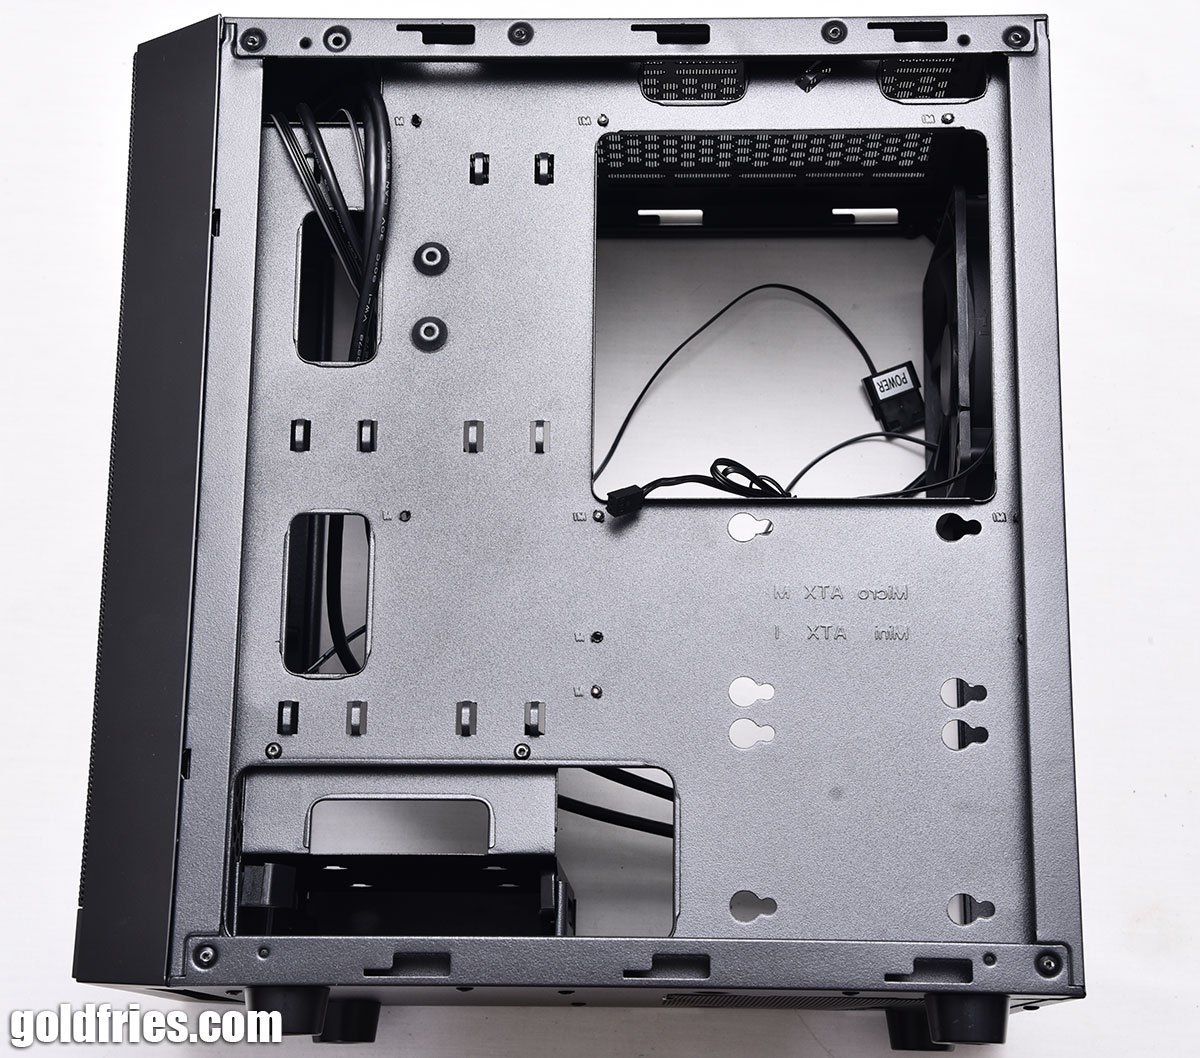
The clearance between the panels is very little, only about 15mm.
User Experience
The case looks nice but it’s designed to be so ultra compact that my regular power supply doesn’t work, modular power supplies are often a little longer and it doesn’t fit.
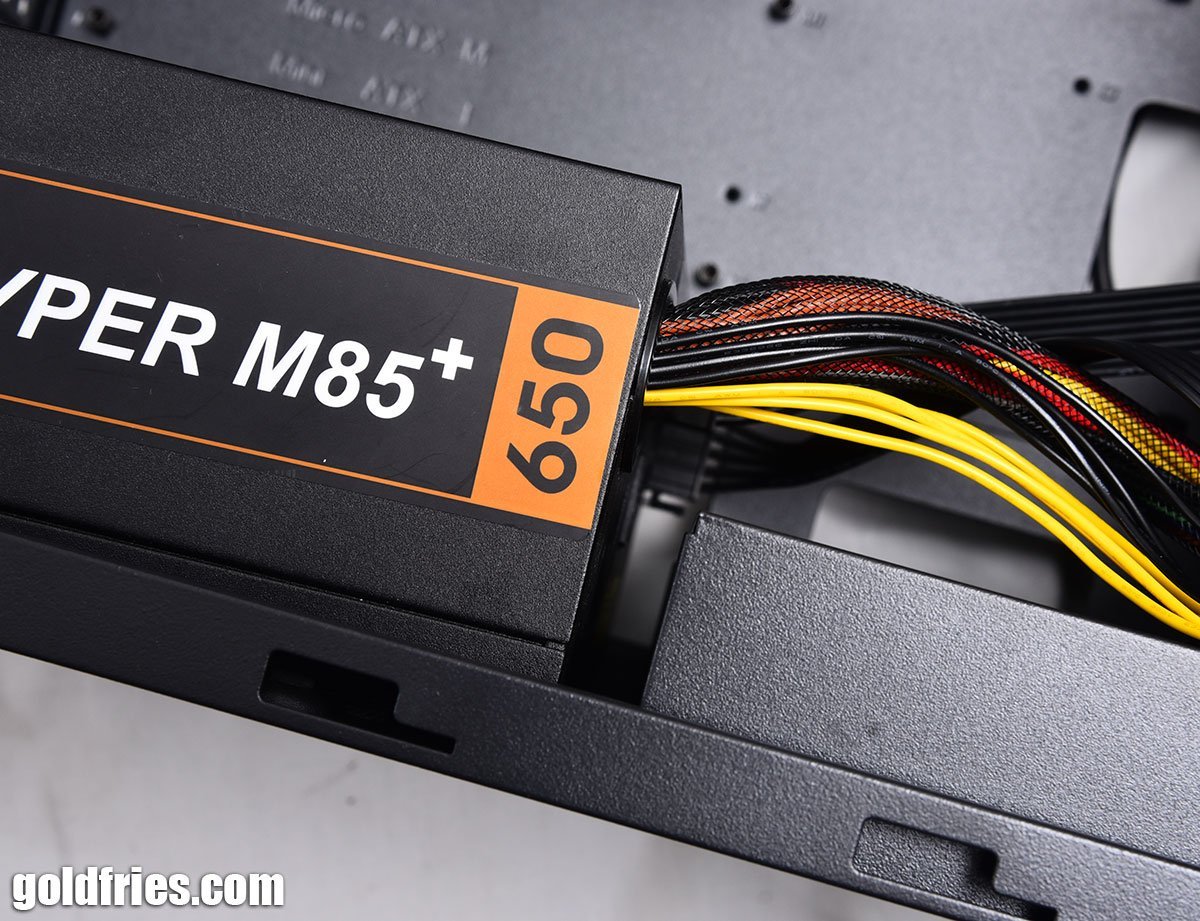
In the end I had to go through the hassle of removing my entry-level PSU from another rig just for this demo. As you can see the gap between the PSU and board is very close, and that’s with a PSU with curved edges.

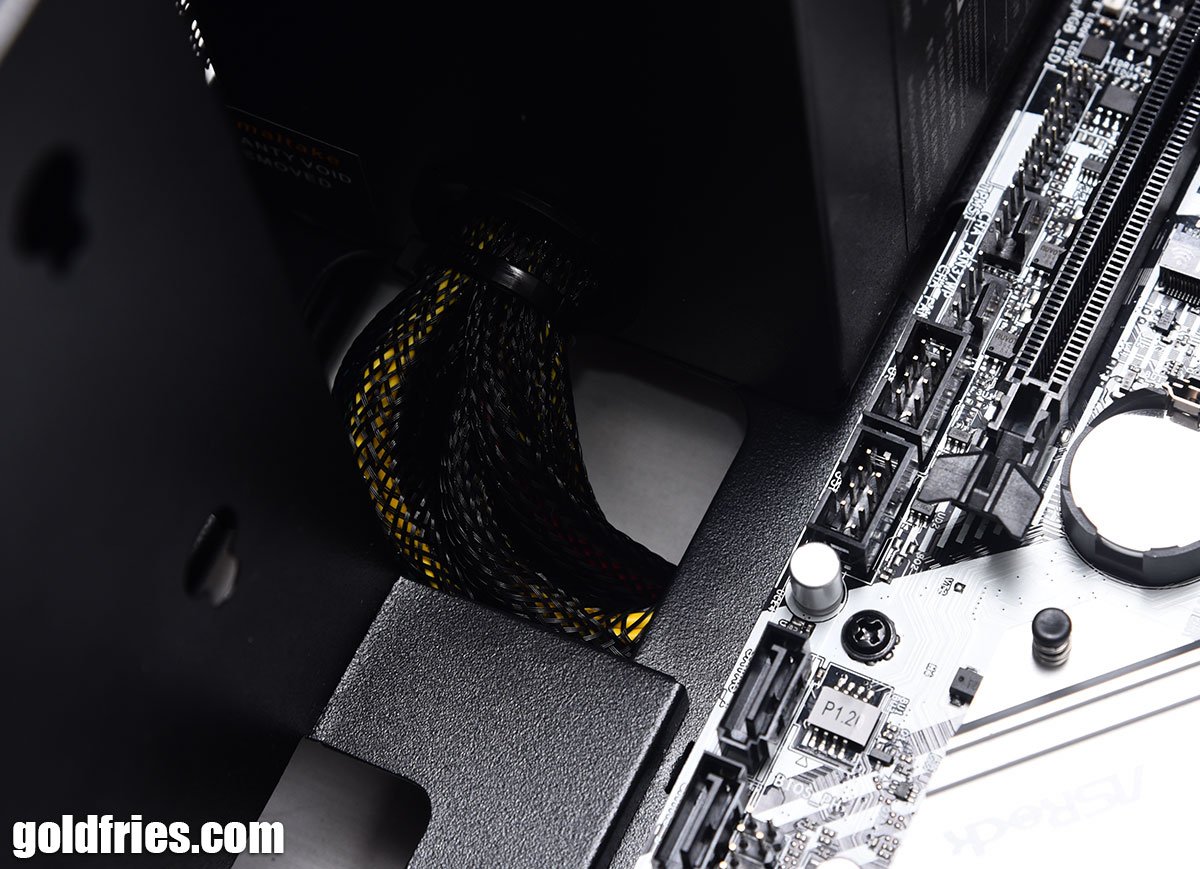
This means IF you need to change PSU for some reason you have to remove the entire system, and yes that means you must install PSU first before the motherboard. The PSU cables as you can see here, just barely made it through the cut out with some tight bend.
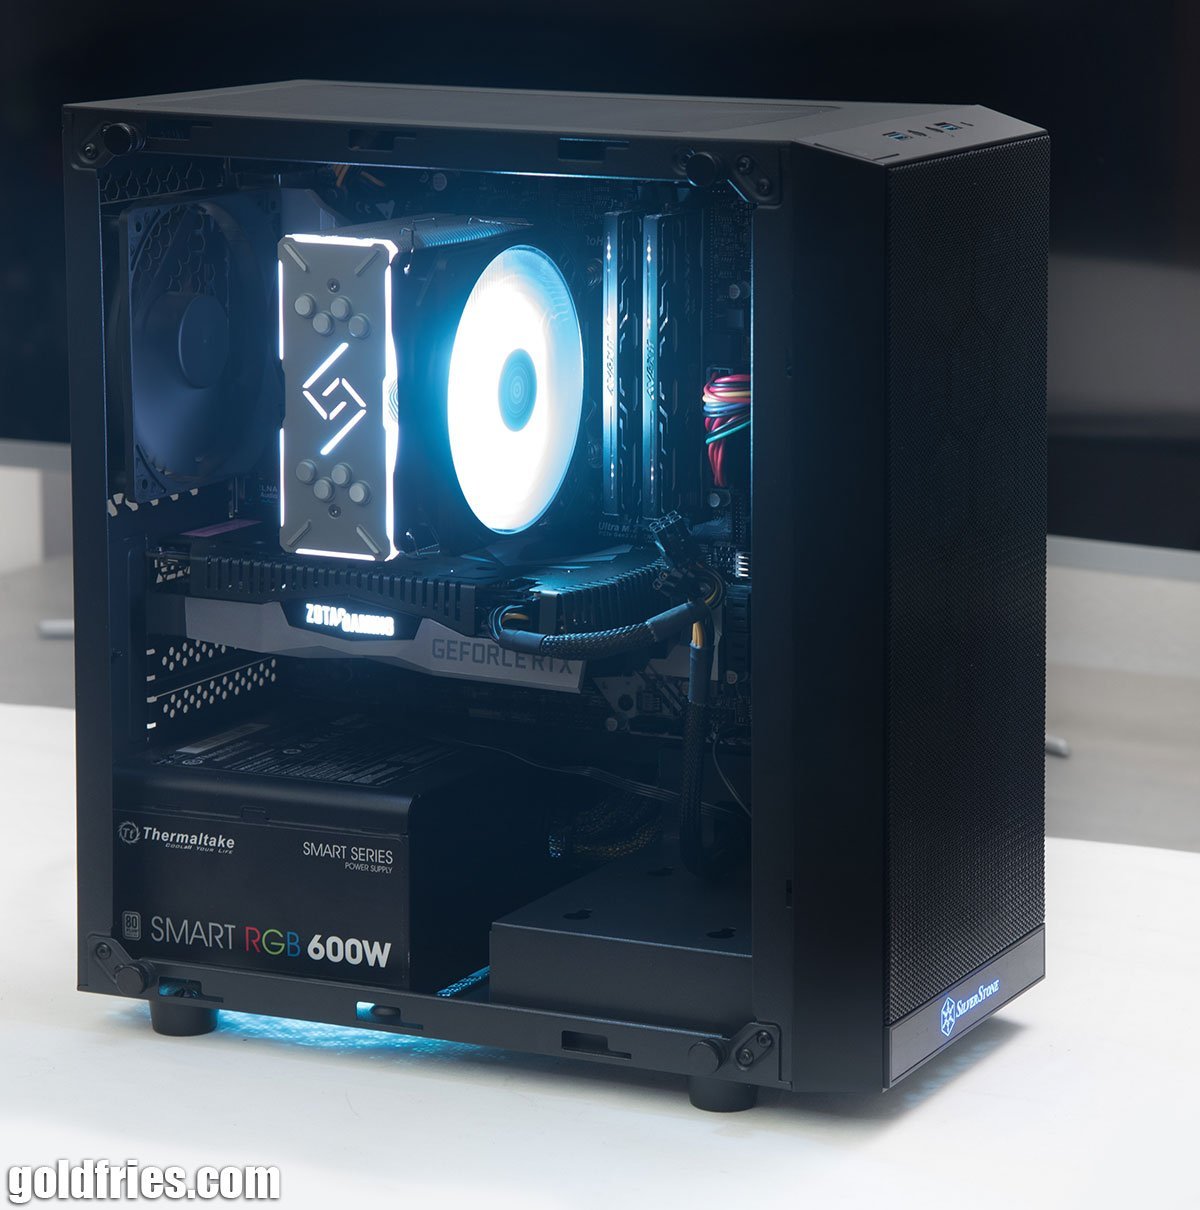
Here’s the final setup for the rig. Notice that there’s the illuminated SilverStone logo at the front.

A few things I need to highlight, the casing is NARROW – the CPU cooler here which is the DeepCool Gammaxx GT, is still too tall. I’m unable to secure the tempered glass panel with it on. This setup is for demo purpose only.
The part I dislike about the 3.5″ drive bay, and that it’s not detachable. The way the SilverStone Precision PS15 is designed is that it leaves no room for other way to mount the 3.5″ drives but it would’ve been great if they allow the cage to be removed.
With the cage on one would have a dilemma – with compact space you want the cables to be minimal, as such modular PSUs are a good bet. However modular PSUs are often longer and unable to fit the PSU area and so you’re back with cables to handle.
The area to manage cable is almost non-existent but thankfully I’ve managed to squeeze all of them in with some force and I can tell you it took quite some effort.
The Verdict
The casing isn’t bad, don’t get me wrong. At RM 189 price point and what it offers it’s actually a good deal.
I just wish that it’s a little wider and just a little bit longer, or if it’s not longer then at least allow us to remove the 3.5″ drive cage.

That aside I wish also that SilverStone not use blue color LED for the front – it just spoils the design, if my system theme is red then it’s a horrible mismatch.
Click here to visit the official product page.