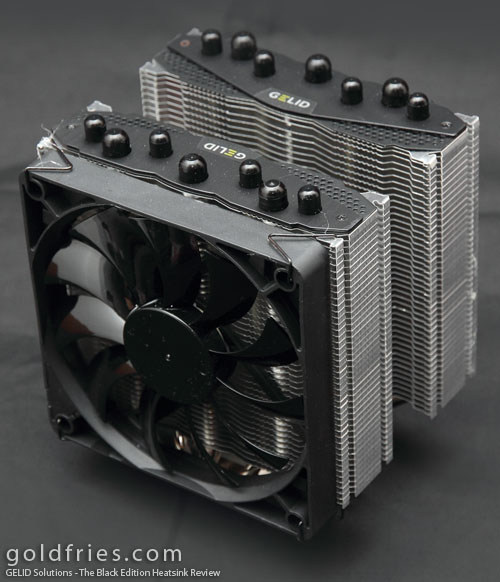
With us today is GELID Solution’s Black Edition Heatsink (CPU Cooler), that features 7 power heatpipes that are uniquely arranged, and comes with Multi Award-Winning Slim 12 PWM & Silent 12 PWM Fan.
The heatsink allows up to 3 fans to be mounted on it, and it has 5 years warranty too.
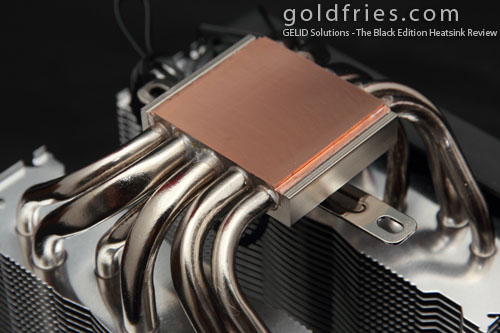
Traditional heat pipe arrangement of high-end heatsink heatpipes are usually soldered on one row. Therefore the heat absorption capacity of the outer heatpipe will be negatively affected when there are more than 5 heatpipes.
To solve this problem a special array of heatpipes was used on “The Black Edition” to take full advantage of all 7 6mm heatpipe heat transfer capacity. On “The Black Edition” two heatpipes were soldered on top of three middle heatpipes.
– Black Edition Design Concept
More details at the Official Product Page
The Heatsink
The total combined weight of the heatsink and bundled fans come to about 990g.

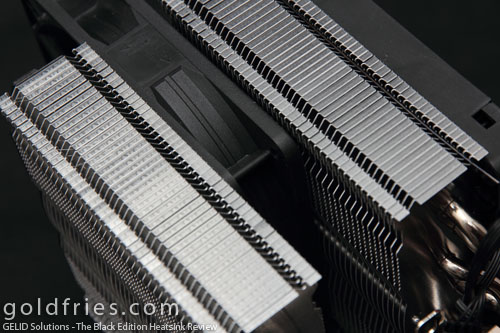
Just as the name itself, the heatsink is primarily black in color. As you can see from the photo, the fins are split into 2 sections, allowing an additional fan to be slot in between.
The copper base is of a solid piece.
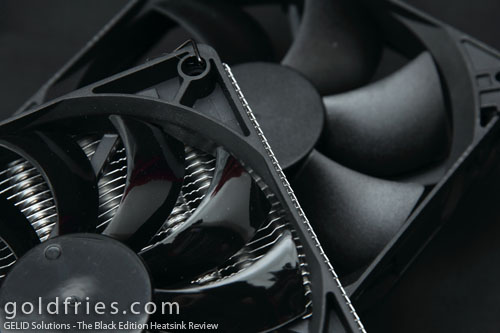
A view of the fan in between the fins
The fans – the one with the glossy blade is the one that comes attached to the heatsink (Slim PWM fan) while the other is the Silent PWM fan. The Slim PWM fan is more silent than the Silent PWM fan, which whirrs quite noticeably when it starts to spin.
Installation
Installation was tough. The first hurdle was to get the mounting plate unto the motherboard.
Once you matched the holes and got the screws and holder into place, the next daunting task is to get the heatsink locked in place.
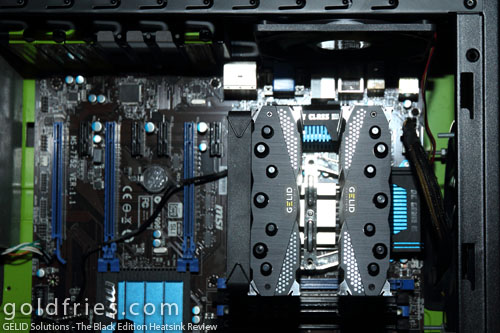
In reference to the image above, you’ll see how tight is the space around the heatsink. I’m already using a rather large casing – the Sharkoon Tauron.
To make things more difficult, the mounting points are in between the 2 towering blades. So regardless of orientation, tightening of the screws are easy on the side where there’s open space but for the side where there’s space constraint – it’s near impossible if you do not have a long screw driver with magnetic tip.
Overall process took me some 15 – 30 minutes, including time taken to carefully study the manual and identifying the assembly diagram.
As you can see, I like to mount the fan to blow air upwards. Now if you look at the photo below, you’ll see how the heatsink could be in conflict with the DIMM positions.
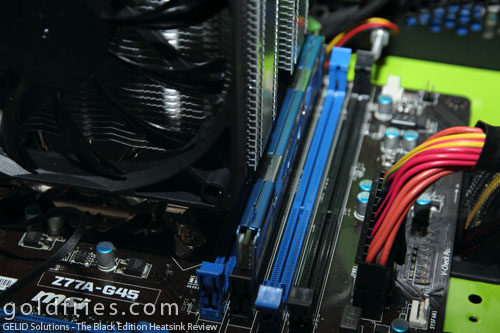
You could start off by installing a RAM on the 1st DIMM slot before proceeding with heatsink installation but that would also mean your RAM is stuck there, with no possibility of removal unless you remove the heatsink first. Standard and Low profile RAM sticks work fine with the 2nd slot but not the higher profile types with LED.
Of course if I had installed it the conventional way then accessing the RAM slots are a lot easier as you can shift the fans to other locations (the heatsink has 3 fan positions).
Test Setup / Benchmarks
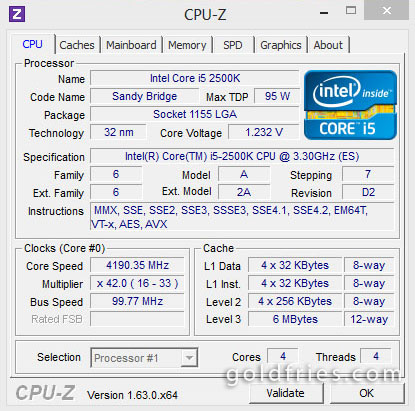
The computer setup used for this review.
| Processor | Intel Core i5-2500K |
| RAM | Avexir Core Series 4GB DDR3 1600 |
| Motherboard | MSI Z77A-GD45 |
| Power Supply | Xigmatek NRP-PC602 600w |
| Operating System | Windows 8 Pro 64bit |
The processor was overclocked to 4.2ghz and vCore set to 1.25.
Temperature was monitored using HW Monitor.
CPU load was done by converting 10bit MKV video to 8bit using x264, set to -veryslow mode.
| Idle (°C) | Load (°C) | |
| Single Fan | 35 | 54 |
| Dual Fan | 34 | 52 |
Very sweet temperature, I tested the same configuration with Intel’s stock cooler and the system didn’t survive to complete 100% of the video conversion, with the screen frozen showing 76°C on load. *It didn’t overheat. It hang.*
Conclusion
The heatsink is of solid built, and is definitely worth the USD 75 price tag. The package is good as you could opt for a dual fan setup or just use the additional fan on your casing. It also comes with GELID’s GC-Extreme thermal paste http://www.gelidsolutions.com/products/index.php?lid=1&cid=3&id=42